
HDB Inter-Floor Leak: The Resolution Process
An HDB inter-floor leak follows a fixed resolution process: report to your Town Council, join the Signal Test, then repair and split the cost.
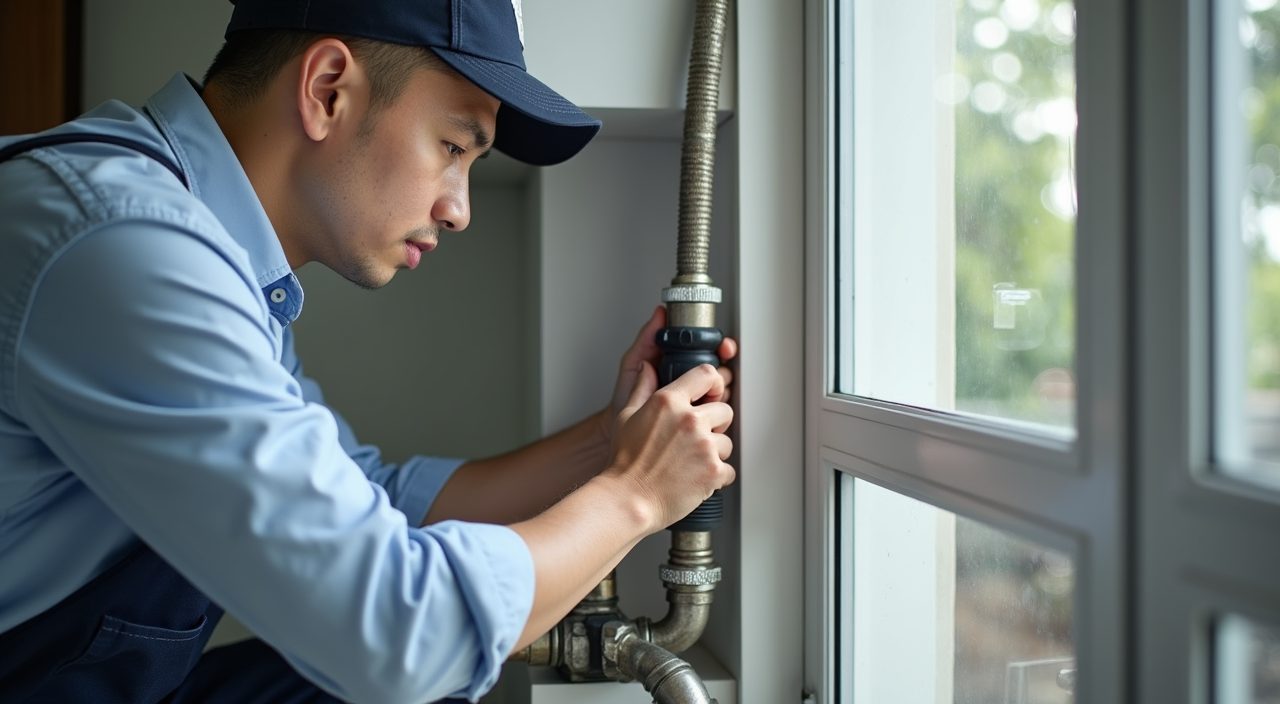
An HDB inter-floor leak is water seeping from one flat into the one below through the concrete floor slab or the ceiling. The resolution process usually runs in this order: the affected lower-floor owner reports the leak, the Town Council or HDB helps arrange a joint inspection and a Signal Test to find the source, then the two households agree on repairs and how to share the cost. If neither side cooperates, the matter can escalate to mediation or the Community Disputes Resolution Tribunal.
This guide walks through each step, who pays for what, and how long it typically takes. Rules and specific schemes can change over time, so always confirm the current process with your own Town Council or HDB before acting on anything here.
What counts as an HDB inter-floor leak?
An inter-floor leak is water that travels between two stacked HDB flats, most often showing up as damp patches, peeling paint, or dripping on the lower unit's ceiling. The usual culprits are a failed waterproofing membrane or cracked floor screed in the upper flat's bathroom, kitchen, or service yard.
It is different from a leak inside your own flat, such as a burst pipe under your sink or a leaking tap. Those are your own repair job. An inter-floor leak involves two separate households and shared responsibility, which is why there is a formal process for it.
Who is responsible for an inter-floor leak?
Under HDB's usual position, the ceiling belongs to the lower flat and the floor belongs to the upper flat, but the waterproofing layer sits between them. Because the source is normally in the upper unit, both owners are generally expected to work together to investigate and fix it, and the cost is often shared.
There is no automatic rule that the upper flat always pays everything. Cost sharing depends on the actual cause and what the two households agree on, so keep communication reasonable and in writing where you can.
- Lower flat: usually reports the leak and repaints or repairs its own ceiling afterwards
- Upper flat: usually gives access, and handles waterproofing or screed repair if the source is there
- Cost of the source repair: commonly shared, often around half and half, but it depends on the cause
What is the Signal Test and why does it matter?
The Signal Test, sometimes called a colour dye or moisture test, is the standard method used to confirm where an inter-floor leak is coming from before anyone pays for repairs. A tester adds a harmless coloured dye or uses moisture sensors in the upper flat's wet areas, then checks whether the water and dye appear in the lower flat's ceiling.
It matters because it stops the two households from guessing and arguing. Once the test pinpoints the source, it is far easier to agree on who repairs what. Town Councils can help arrange this test, and there has historically been a subsidised joint inspection scheme for eligible cases, so ask your Town Council what current help is available.
What is the step-by-step resolution process?
The process is designed to move from reporting to repair with as little conflict as possible. Follow the steps in order and keep records at each stage.
If your upper-floor neighbour refuses to cooperate, do not force entry or take matters into your own hands. Escalation routes exist for exactly this situation.
- Step 1: The lower-floor owner reports the leak to their Town Council or HDB and notifies the upper-floor neighbour
- Step 2: A joint inspection is arranged, and a Signal Test is carried out to confirm the source
- Step 3: Once the source is confirmed, the households agree on the repair scope and cost sharing
- Step 4: A contractor carries out the waterproofing or screed repair in the upper flat
- Step 5: The lower flat repaints or restores its ceiling once the leak has stopped
- Step 6: If cooperation breaks down, seek mediation or apply to the Community Disputes Resolution Tribunal
How much does the repair cost and how long does it take?
Costs vary with the cause and the extent of damage. A simple waterproofing re-coat of a small bathroom is at the lower end, while full hacking and re-screeding of a wet area sits much higher because of tiling, waterproofing, and reinstatement work. As a rough guide, expect anywhere from several hundred dollars for minor sealing up to a few thousand dollars for a full bathroom waterproofing job, with the exact figure depending on size and finishes.
Timelines also vary. Confirming the source through inspection and testing can take a few weeks, and the physical repair itself often runs several days once a contractor starts, since waterproofing needs curing and testing before tiles go back.
How do I get the repair done properly?
Whether you are the upper flat fixing the source or the lower flat restoring a stained ceiling, use an experienced plumber or waterproofing specialist who understands HDB requirements and can test the repair before closing everything up. A proper job seals the source, cures fully, and is checked with water before reinstatement, so the leak does not come back.
If you want help diagnosing the source or carrying out water leak repair in your Singapore flat, our team handles inter-floor leak investigation, waterproofing, and ceiling restoration. Getting the waterproofing done correctly the first time is far cheaper than repeating the hacking work a year later.
Frequently asked questions
Do I have to let my downstairs neighbour into my flat? You are strongly encouraged to give access for a joint inspection and Signal Test, since the leak source is usually in the upper unit. Refusing to cooperate can lead the matter to mediation or the Community Disputes Resolution Tribunal, so it is better to work together early.
Who pays for the ceiling repainting in the lower flat? The lower-floor owner normally handles repainting or restoring their own ceiling once the leak has stopped. The cost of fixing the actual source in the upper flat is the part that is commonly shared between the two households.
How long does the whole process take? It varies, but confirming the source through inspection and testing often takes a few weeks, and the repair itself runs several days because waterproofing must cure and be tested before tiling goes back. Disputes that escalate can take considerably longer.
What if the leak comes back after repair? A leak returning usually means the source was not fully sealed or the waterproofing failed. Insist on a repair that is water-tested before reinstatement, keep all records and receipts, and raise it again with your Town Council if the responsible party does not fix it.