
How to Waterproof a Kitchen and Balcony in Singapore Before You Tile
A Singapore homeowner's guide to waterproofing a kitchen and balcony before tiling: membranes, screed falls, upturns, ponding tests and BCA rules explained.
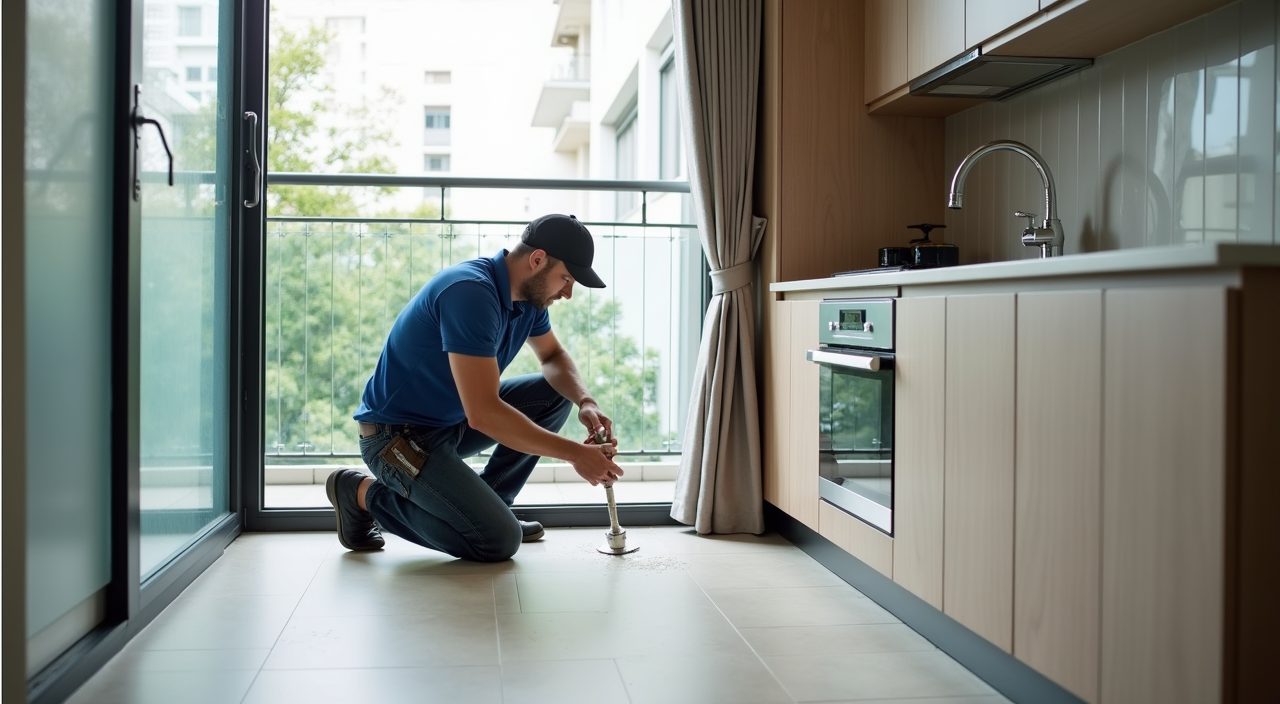
To waterproof a kitchen or balcony in Singapore before you tile, apply a liquid-applied waterproofing membrane over a clean, primed and levelled substrate, carry it up the walls to form an upturn, reinforce the corners and floor traps, then run a ponding test before any screed or tiles go down. The membrane must be continuous, the floor must be laid to a fall toward the drain, and the whole thing has to pass a 24 to 72 hour water test before you tile over it.
This step is invisible once tiles are on, which is exactly why it gets rushed or skipped. In Singapore's climate, with wet kitchens, open balconies exposed to driving rain, and units stacked directly above one another, a failed membrane shows up as damp patches on your neighbour's ceiling below and a repair bill that means hacking up brand new tiles. Getting the sequence right the first time is far cheaper than fixing it later.
Why does kitchen waterproofing matter so much in Singapore?
Singapore homes are almost all high-rise or landed with wet areas sitting above habitable rooms. A kitchen or balcony floor that leaks does not just damage your own unit; water tracks through the concrete slab and stains, blisters or soaks the ceiling of the home directly below. In HDB and condo settings that quickly becomes a dispute with your downstairs neighbour and, for shared or party structures, a matter the town council or MCST may get involved in.
The environment makes it worse. Kitchens see constant splashing, mopping and sink overflows, while balconies take direct rain and standing water during heavy storms. Tile grout is not waterproof, and neither is the tile adhesive underneath it. The only thing keeping water inside the room is the membrane hidden below the screed, so if that layer is thin, cracked or missing at the edges, the leak is only a matter of time.
- Wet areas usually sit directly above someone else's living space
- Grout and tile adhesive are porous; the membrane is the real barrier
- Balconies face driving rain and ponding; kitchens face daily splashing
- A hidden failure means hacking up finished tiles to fix it
Which areas actually need a waterproofing membrane?
Any floor that gets wet and sits above another space should be waterproofed as a full tanked area, not just patched around the drain. In a typical Singapore home that means the kitchen floor and the lower part of the walls, the open or covered balcony including the threshold at the door, and of course bathrooms and the yard or service area where the washing machine and floor trap live.
The membrane should never stop at the visible floor. It has to turn up the walls to form an upturn, usually at least 150mm high in general wet areas and higher, around 300mm, at shower zones and anywhere water can pool or splash against a wall. Around floor traps, pipe penetrations and the balcony door threshold, the membrane is dressed into the opening so there is no gap for water to sneak behind.
- Kitchen floor plus a wall upturn of at least 150mm
- Balcony floor, side walls and the door threshold detail
- Yard, service area and around the washing machine floor trap
- Full dressing into floor traps and around every pipe penetration
What are the steps to waterproof before tiling?
The sequence matters more than the product. Waterproofing done in the wrong order, or over a dusty or wet slab, will peel or lift no matter how good the membrane is. The membrane goes onto the bare structural substrate first, then the protective screed and tiles go on top, so it sits below everything you can see.
A correct job on a kitchen or balcony generally runs through these stages.
- Hack off old finishes and clean the slab down to sound concrete, removing dust, oil and loose bits
- Repair cracks and honeycombing, then prime the surface so the membrane bonds properly
- Install a fillet or reinforcing tape at all floor-to-wall corners and around drains
- Apply the first membrane coat, let it cure, then apply a second coat at right angles for full coverage
- Carry the membrane up the walls to form the upturn and dress it into traps and the balcony threshold
- Flood the area and run a ponding test before covering anything
- Lay a screed to the correct fall toward the drain, then tile over the cured, tested membrane
How important is the floor fall and ponding test?
A membrane keeps water out of the structure, but it will not move water off the floor. That is the job of the fall, a gentle slope built into the screed so water runs toward the floor trap instead of sitting in the middle of the room. A common target is roughly a 1:100 to 1:50 slope in wet areas, which is enough to drain without feeling like you are standing on a hill. On a balcony the fall should push water away from the door and toward the outlet so rain never pools at the threshold.
The ponding test, sometimes called a flood test, is the single most important check and the one most often skipped. The area is dammed and flooded with water, then left to stand, commonly for 24 hours and up to around 72 hours for critical areas, while someone checks the ceiling below for any sign of moisture. If the ceiling stays dry, the membrane is sound. If you tile first and test never happens, you have no way of knowing the membrane works until a leak appears months later.
Do Singapore rules require this, and does it affect the warranty?
Yes. Waterproofing of wet areas is a recognised building requirement in Singapore, and BCA guidance treats it as a critical detail, with membranes, upturns and flood testing expected as standard practice on wet floors. For HDB flats, renovation work touching wet areas must follow HDB's renovation rules, and hacking or relaying floors in wet areas typically needs a permit through an HDB-registered renovation contractor. In condominiums, the MCST house rules and the managing agent usually set their own conditions for wet-area works.
Warranty is the practical reason to not cut corners. Many waterproofing membrane systems only carry their manufacturer warranty if an approved applicator installs the full system, primer, membrane, reinforcement and coats, to specification. A patch job by an untrained hand often voids that cover, so if a leak appears later you are on your own for the repair. Keeping the applicator's records, product details and the ponding test result gives you something to fall back on.
Should I DIY this or hire a professional?
Small touch-ups aside, kitchen and balcony waterproofing is not a good DIY project in Singapore, because the cost of getting it wrong is hacking up finished tiles and possibly compensating the unit below. The tricky parts are the details most people underestimate: the corner fillets, the upturns, dressing into floor traps, achieving a proper fall, and actually running and documenting the ponding test. Miss one and the whole area can fail even if the flat sections look perfect.
This is where it pays to bring in a contractor who handles the plumbing, floor traps and waterproofing together, so the drainage falls, the pipe penetrations and the membrane are all coordinated as one job rather than three trades blaming each other later. A professional will also handle the HDB permit side for wet-area works, use a warrantied membrane system, and give you a tested, documented result before the tiler ever shows up.
How much does kitchen and balcony waterproofing cost?
Costs vary with the area size, the state of the existing slab, and whether old tiles and screed need hacking off first, so treat any figure as a rough guide rather than a fixed price. As a broad range, waterproofing a wet area in Singapore is often quoted on a per square metre basis or as a lump sum per zone, and a kitchen or balcony is usually a modest part of a wider renovation budget rather than the headline cost. Hacking, screed and reinstating tiles add to the total.
The more useful way to think about it is risk versus spend. Re-doing a failed membrane later means removing finished tiles, redoing screed, possibly repairing a neighbour's ceiling, and living through the mess a second time, which dwarfs the original waterproofing cost. Get an itemised quote that spells out surface preparation, the membrane system and number of coats, the upturn height, and whether a ponding test is included, so you can compare like with like instead of just the cheapest headline number.
Frequently asked questions
Can I tile straight over the old floor without new waterproofing? Not safely. Tiling over an old or unknown membrane hides whatever condition it is in, and if it has failed you will not know until water reaches the unit below. When you hack up a wet area for a renovation, it is the right time to lay a fresh, tested membrane before the new tiles go down.
How long does the membrane need to cure before tiling? It depends on the product, but liquid membranes typically need each coat to cure before the next, and the full system to cure before the ponding test, which itself runs around 24 to 72 hours. Rushing to tile over a membrane that has not cured or been tested is the most common cause of trouble.
Does waterproofing go under the screed or under the tiles? Under the screed. The membrane sits directly on the prepared structural slab, then a screed laid to fall protects it and sets the slope, and the tiles go on top of that. This keeps the waterproof layer continuous and shielded from the tiling work above it.
Do I need an HDB permit to redo my kitchen or balcony floor? Usually yes for wet-area works that involve hacking or relaying floors, and these must go through an HDB-registered renovation contractor who submits the permit. Check current HDB renovation guidelines or ask your contractor, since requirements and covered works are updated from time to time.