BTO Study Room Design Ideas
Practical BTO study room design ideas for Singapore homes: smart layouts, tropical-friendly finishes, storage and lighting that suit small HDB spaces.
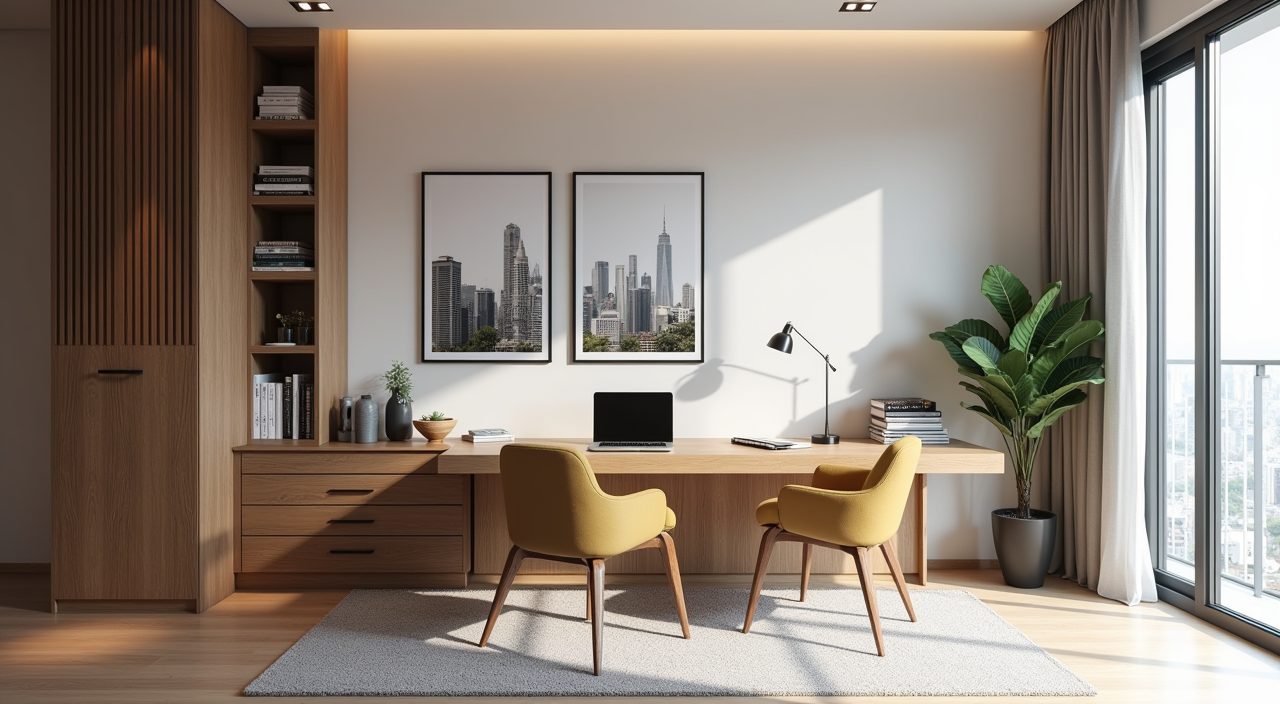
Design a BTO study room by fixing three things first: put the desk where you get the best natural light without screen glare, run storage vertically up the wall so the floor stays clear, and add task lighting that is separate from the ceiling light. In a typical HDB flat the study is small (often a 2.4m by 2.4m bedroom, a bay window nook, or a corner of the living room), so every choice has to earn its place. Get the desk, light and cable management right and the room works; get them wrong and it becomes a dumping ground.
Most Singapore BTOs do not come with a dedicated study. What you usually have is a smaller second or third bedroom, a bay window in a bedroom, or a slice of the living or dining area. The tropical climate adds real constraints: strong afternoon sun through west-facing windows, high humidity that warps cheap board and grows mould behind furniture, and limited floor area that makes bulky office furniture feel oversized. The ideas below are written for those exact conditions.
Build the desk into the wall or bay window instead of buying a bulky standalone one
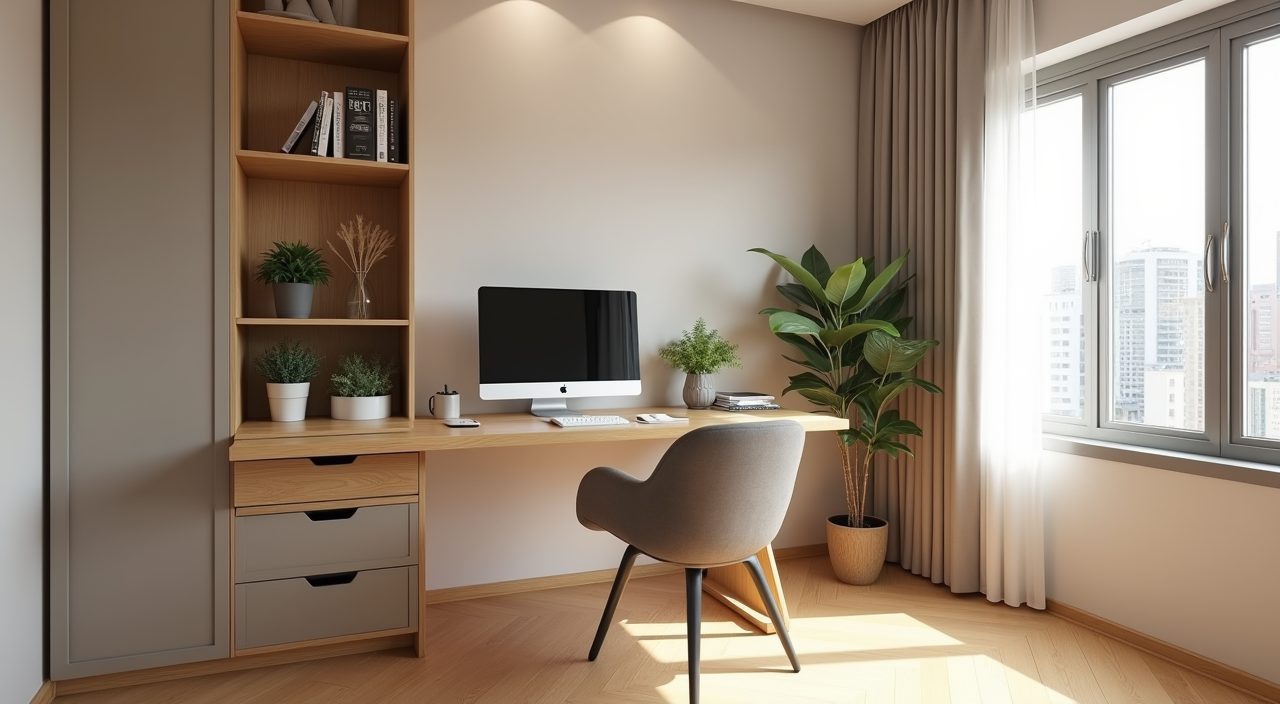
A carpentry desk that runs along one wall gives you far more usable surface than a freestanding office table in the same footprint, and it lets you tuck the legroom under a shelf or drawer bank. If your bedroom has a bay window, a full-width laminate top turned into a desk is one of the highest-value moves in a BTO: you reclaim dead space, gain a bright spot to work, and skip buying a separate table entirely. Budget for a solid bracket or side support so the top does not sag over a 1.8m to 2.4m span.
Keep the depth honest. A 500mm to 600mm top is enough for a laptop or monitor plus a notebook, and going deeper just eats floor space you do not have. If two people need to work at once, a single long top with two chairs beats two small desks.
Go vertical with storage so the floor stays clear
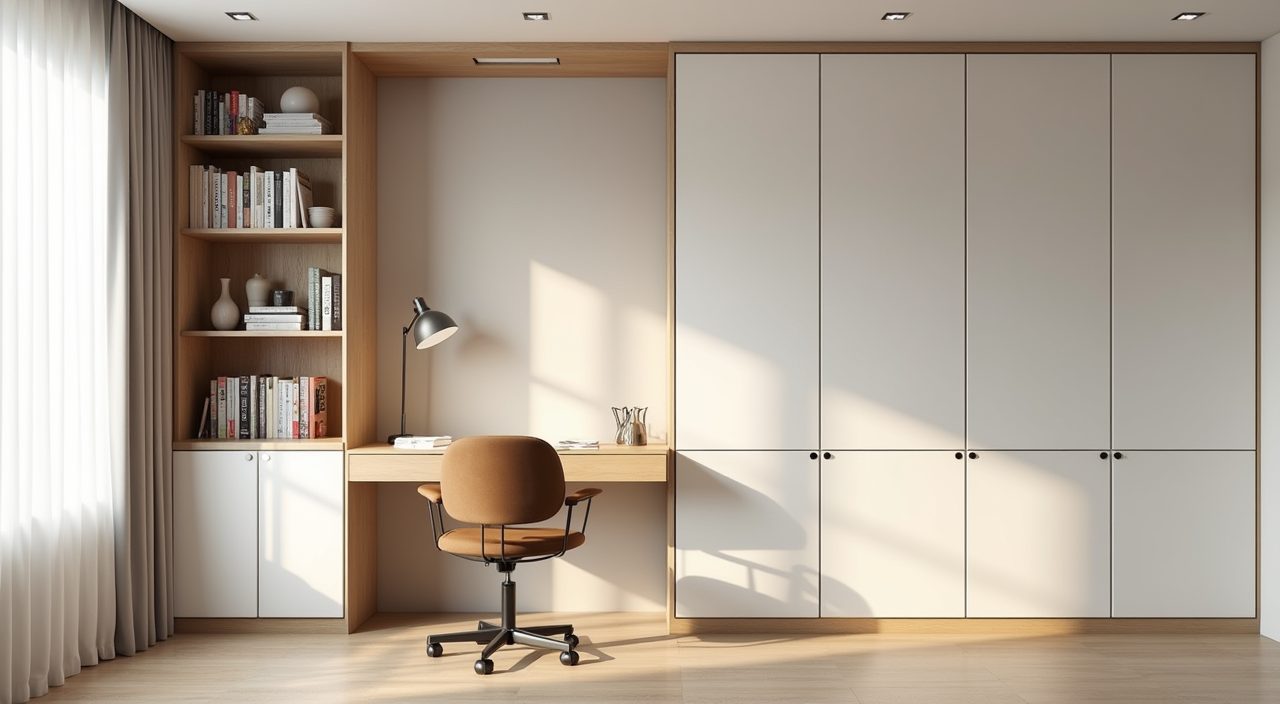
In a room this size, floor-standing cabinets kill the sense of space. Push storage up the wall instead: open shelves for books and things you reach often, a run of closed upper cabinets to hide the clutter you do not want on display. A tall, shallow bookshelf (200mm to 250mm deep) holds a surprising amount without crowding the walkway.
Mix open and closed in a rough ratio that suits how tidy you actually are. If you know the desk will get messy, weight it toward closed doors so the room still reads calm when the shelves behind are chaos.
- Open shelves at eye level for frequently used items and a bit of display.
- Closed upper cabinets to the ceiling for archive files, cables and clutter.
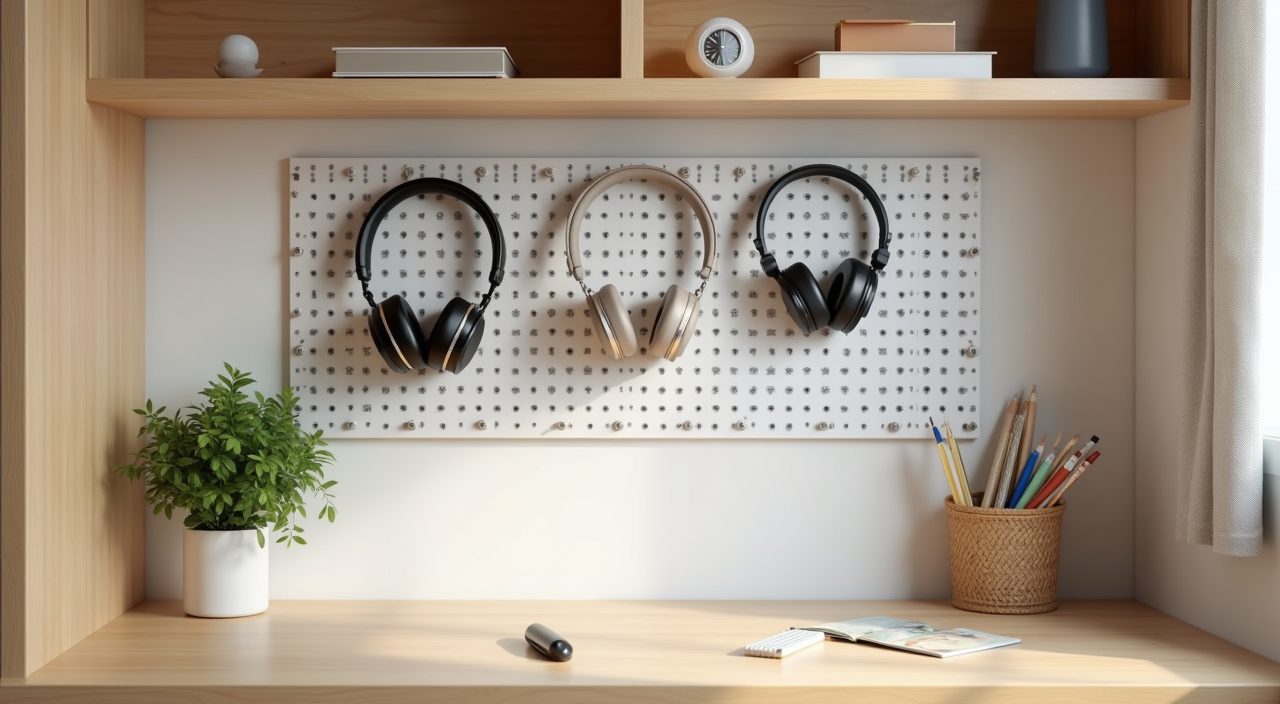
- A pegboard or slat panel above the desk for headphones, chargers and stationery, keeping the desktop clear.
Pick a light, warm palette to make a small room feel bigger
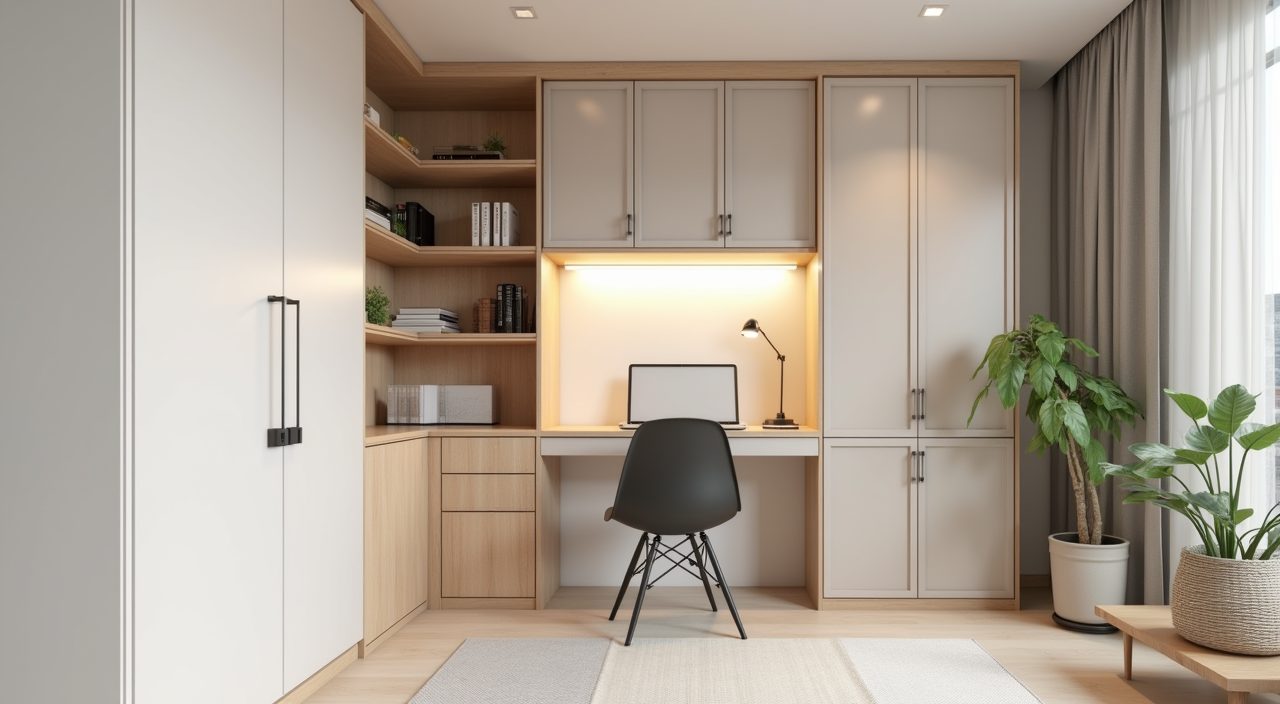
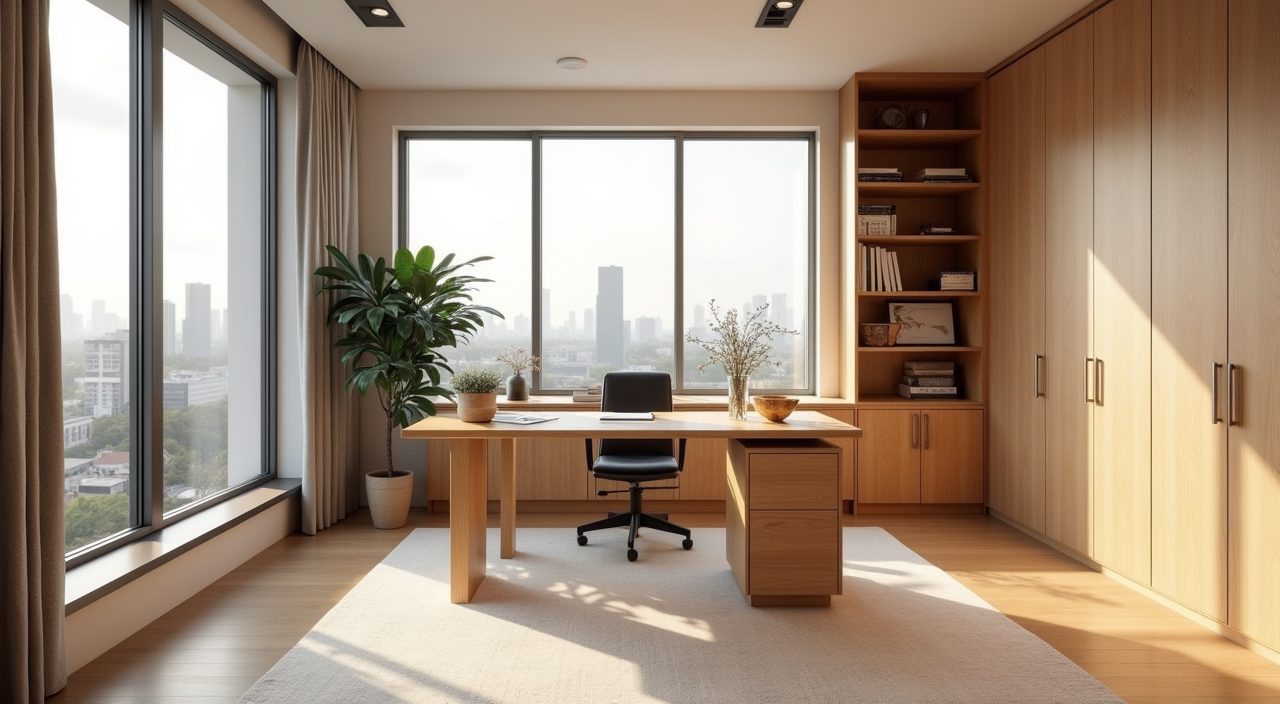
Light colours bounce Singapore's abundant daylight around and stop a small study from feeling boxed in. A base of off-white or warm greige walls with oak or light-wood laminate for the desk and shelves is a reliable, timeless combination that photographs well and does not date fast. Add contrast through one darker element (a charcoal chair, a deep green feature shelf, black shelf brackets) rather than painting a whole wall dark, which can shrink the room.
Avoid high-gloss white everywhere. Under bright ceiling lights it can feel clinical and shows every fingerprint. A matte or lightly textured finish is more forgiving and reads warmer, which matters in a room where you spend hours.
Layer the lighting: ceiling, task and screen-friendly ambient
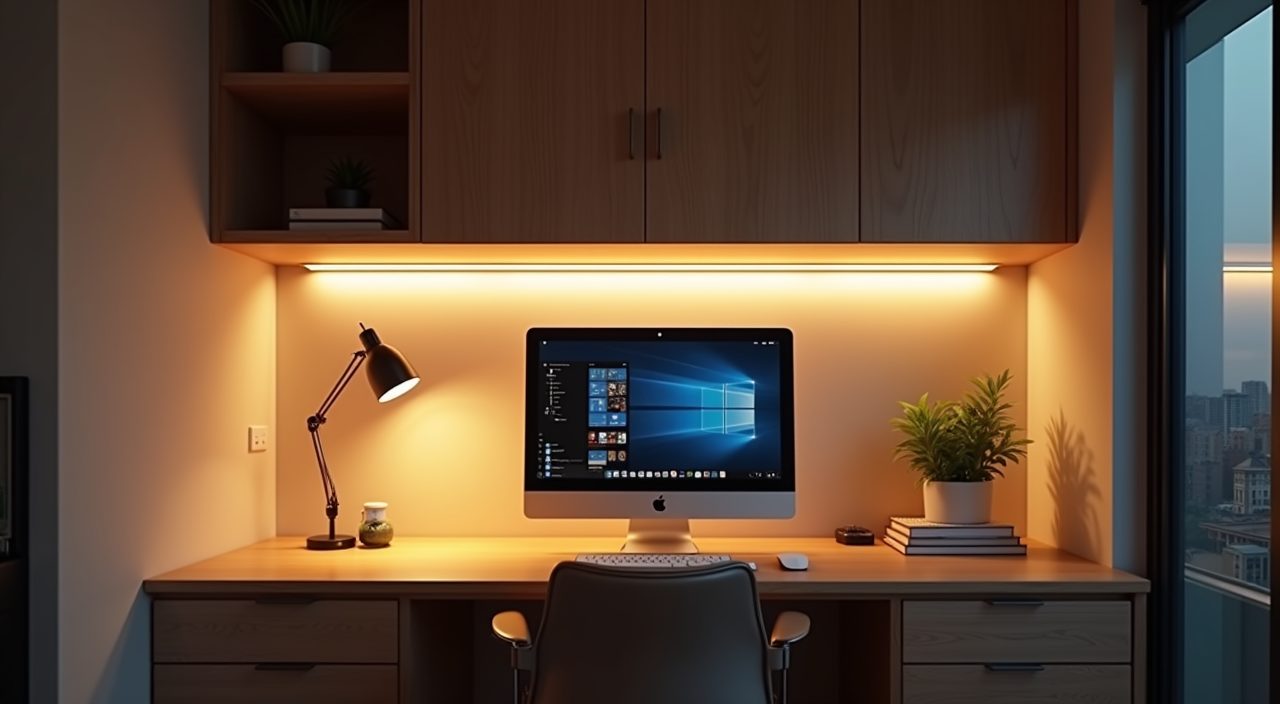
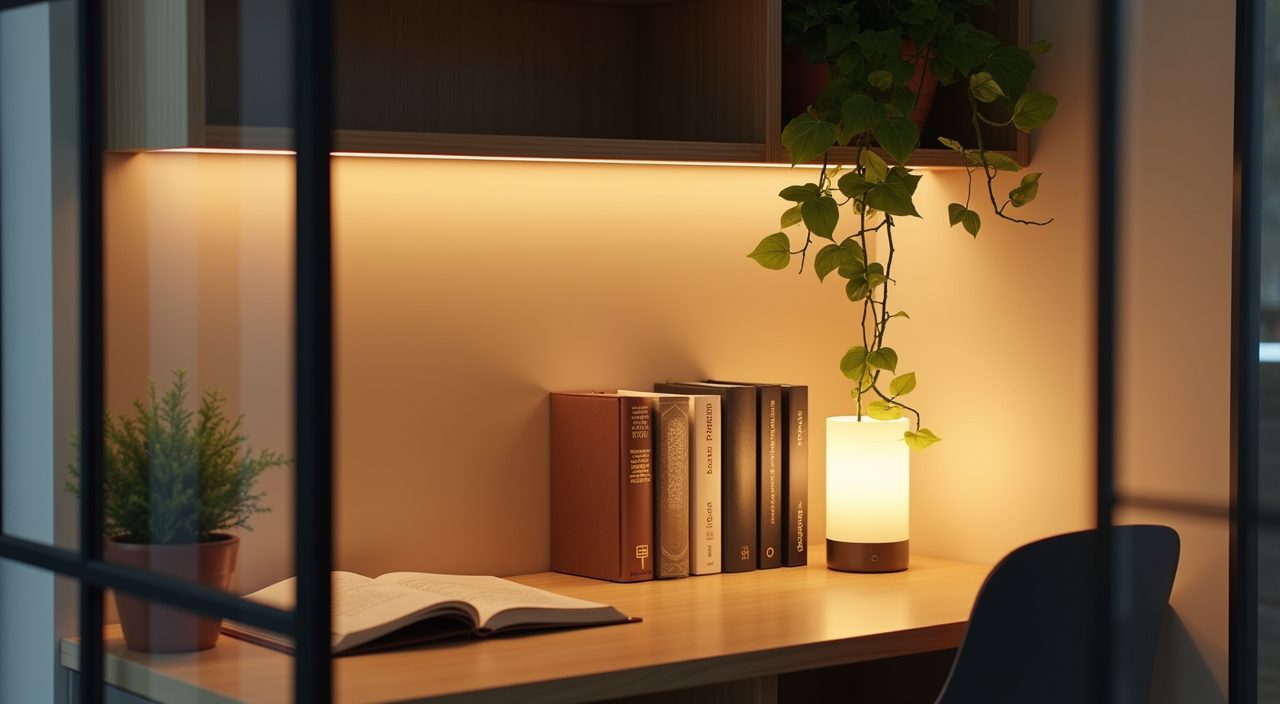
A single ceiling downlight is the classic BTO mistake for a study. It sits behind you, throws shadows onto the desk, and bounces glare off your screen. The fix is layers: keep the general ceiling light, add a dedicated task light at the desk, and consider a soft indirect light (an LED strip under the upper cabinet or behind the monitor) to cut the harsh contrast between a bright screen and a dark wall.
For colour temperature, around 4000K neutral white keeps you alert for focused work without the blue harshness of very cool light. If the study doubles as a reading corner in the evening, a dimmable fixture or a warmer secondary lamp gives you a softer mode.
- Task lamp or under-cabinet strip aimed at the desktop, not at your eyes or the screen.
- Position the desk so a window is to the side, not directly in front (backlight and glare) or behind (shadows).
- Plan switch and socket points early so the electrician can place them before tiling and carpentry go in.
Solve cable chaos before the carpenter finishes
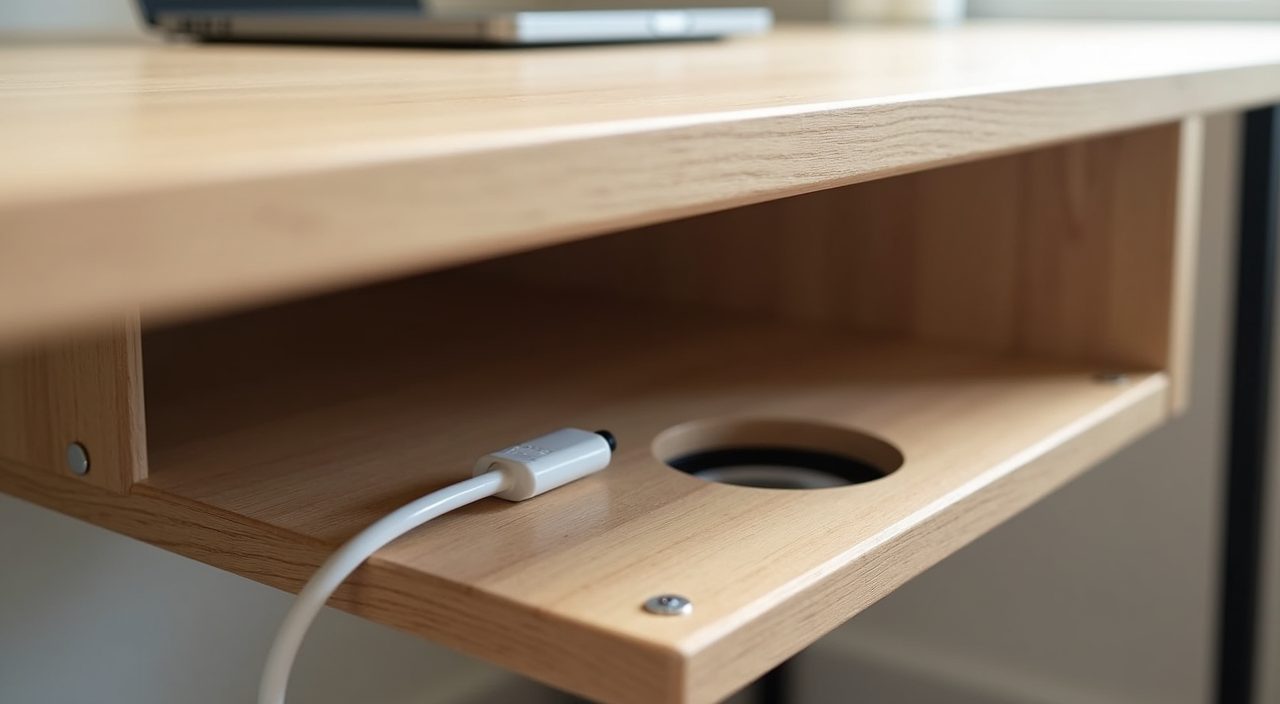
Nothing makes a study look worse than a nest of wires. Decide where the router, monitor, laptop and chargers live, then plan enough power points at desk height (not just one skirting socket you have to crawl for). A grommet hole in the desktop, a cable tray screwed under the top, or a slim trunking run keeps everything hidden and lets you swap devices without redoing anything.
This is easier and cheaper to plan during renovation than to retrofit later. Adding sockets and a data point behind the desk means a small amount of electrical work up front, but it removes the daily annoyance of trailing extension cords across the floor.
Use a fold-down or slim desk when the study shares a room
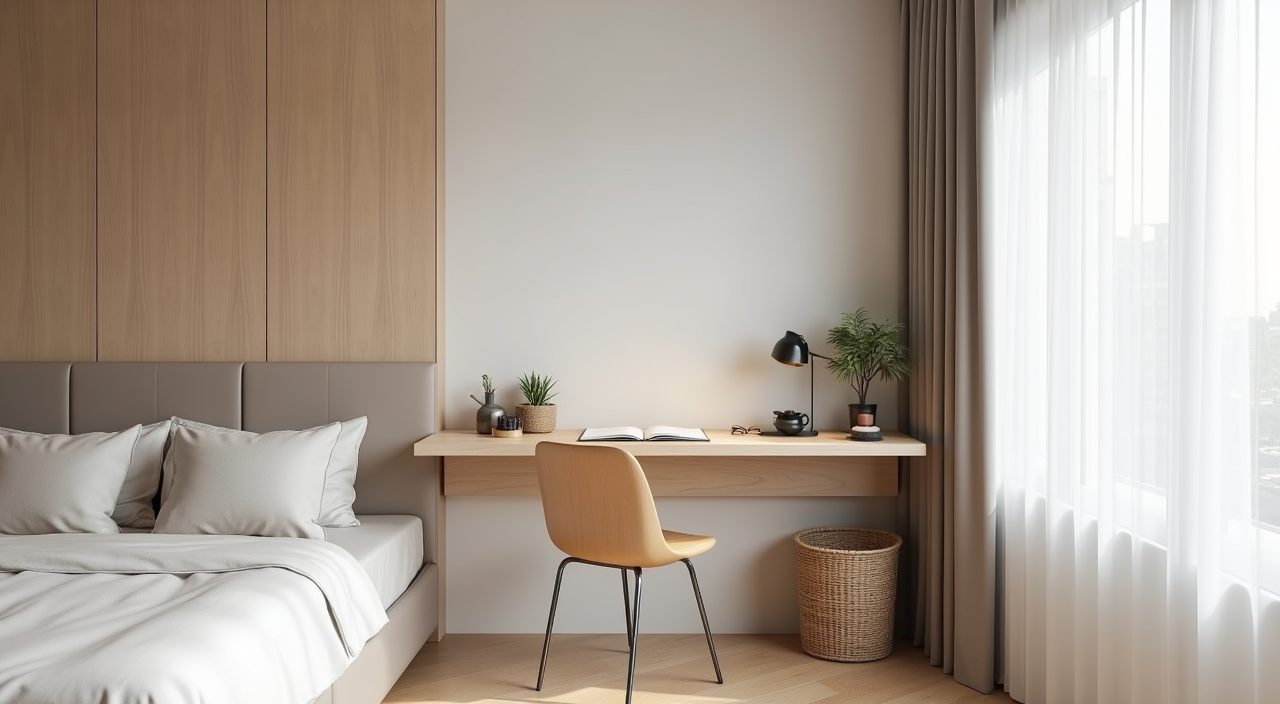
If your working spot lives inside a bedroom or a corner of the living area, a wall-mounted fold-down desk or a slim console (350mm to 450mm deep) lets you work without permanently surrendering the space. Fold it up or clear it off and the room goes back to being a bedroom or lounge. This suits couples in a 3-room or 4-room flat where a full spare-room study is a luxury they cannot spare.
Pair it with a chair that tucks fully under the desk or one that is comfortable enough to double as extra seating, so nothing sits in the walkway when the desk is not in use.
Choose humidity-tolerant materials and keep air moving
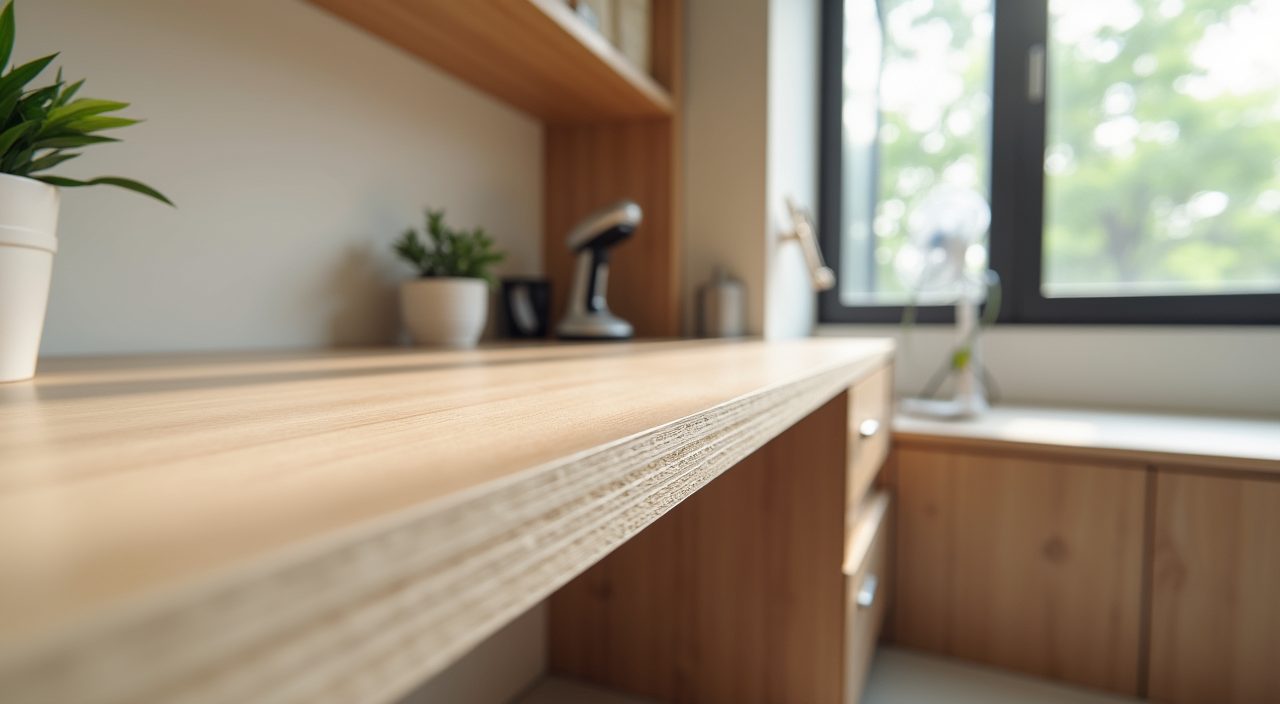
Singapore's humidity is hard on furniture. Cheap MDF or particle board with poor edging swells and delaminates near windows and along skirting, and books left flat against an external wall can grow mould. Choose moisture-resistant board with properly sealed edges, laminate over veneer in the most exposed spots, and leave a small gap between tall furniture and the wall so air can move behind it.
If the study is in an enclosed or naturally stuffy corner, plan for airflow: a ceiling or wall fan, a nearby window you can open, or at least a spot where a dehumidifier can sit. Good air movement protects both your books and your electronics, and keeps the room comfortable during long stretches at the desk.
Add acoustic and visual calm with soft finishes and greenery
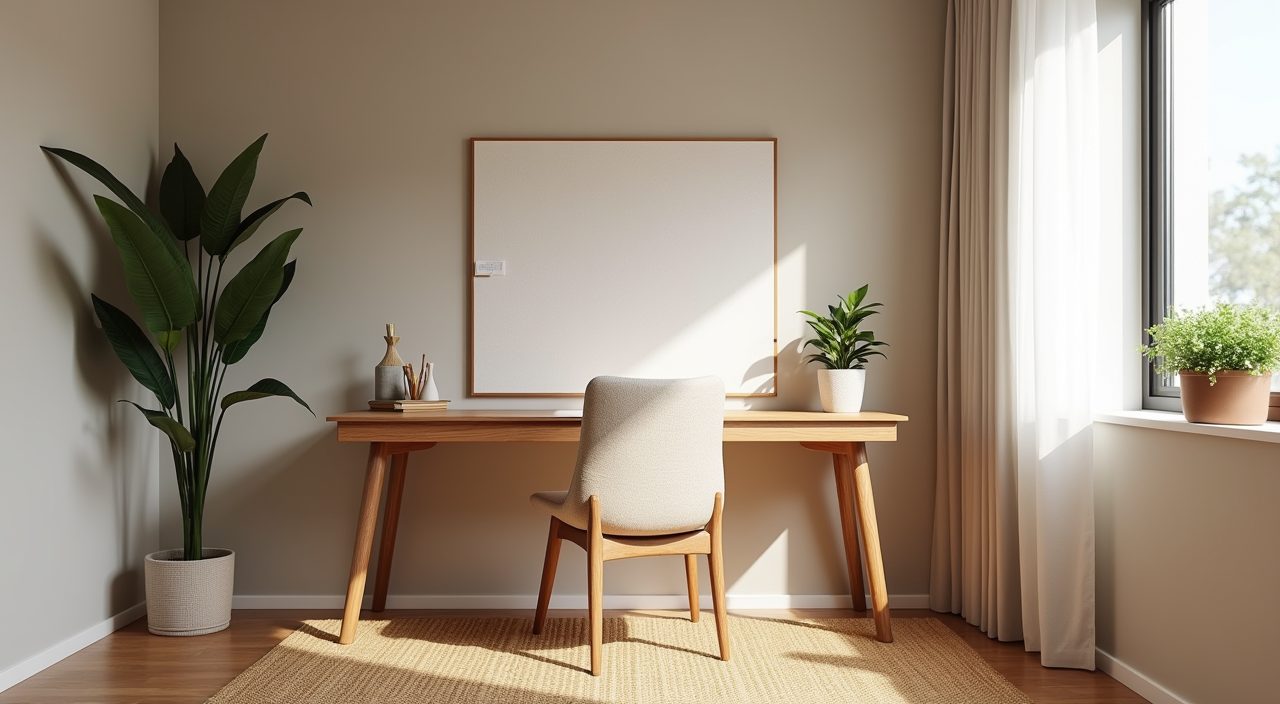
A hard-surfaced small room echoes, which is tiring on video calls and long study sessions. Soften it with a rug, fabric on the chair, or an acoustic felt panel on the wall behind the desk. The felt doubles as a pinboard and a bit of colour, so it earns its place twice.
A single low-maintenance plant (a pothos, snake plant or ZZ plant, all of which cope with typical HDB light) adds life without demanding attention. It softens the tech-heavy look of a desk full of screens and gives your eyes something restful to land on between tasks.
What to plan and budget for
Costs swing widely depending on how much is built-in. A study built mostly from ready-made furniture (a slim desk, a freestanding shelf, a good chair and a task lamp) can be done for a modest sum, while custom carpentry (a built-in desk plus floor-to-ceiling cabinetry) is where the bigger money goes, since it is priced by the linear or running foot and by the material grade you pick. Add electrical work if you want extra sockets, a data point or new lighting positions, and factor in that neat cable management and proper task lighting are the details that make a small study actually pleasant to use. Budget for the built-ins and electrical first, because those are the parts that are painful and expensive to change later; furniture and decor can be added over time. When you are ready to move from ideas to a real BTO study room design ideas renovation, getting the carpentry, wiring and lighting done properly by a qualified contractor is what turns the plan into a room you will happily work in for years.
Frequently asked questions
How small can a BTO study room be and still work? A usable study can fit in as little as a 1.2m to 1.5m stretch of wall or a bay window, enough for a desk top, a chair and vertical storage above. The trick in a small footprint is going up the wall for storage and keeping the desk shallow (500mm to 600mm) so the walkway stays clear.
Can I use a bay window as a study desk in my BTO? Yes, and it is one of the best uses of that space. A laminate top laid across the bay window turns dead space into a bright work spot, but check the window sill height suits a comfortable desk height (roughly 720mm to 750mm) and plan a nearby socket, since bay windows rarely have power points close by.
Do I need a contractor or can I DIY the study? Freestanding furniture, a task lamp and decor are easy to do yourself. But built-in desks, floor-to-ceiling cabinetry, added power sockets, data points and new lighting positions involve carpentry and electrical work that a qualified renovation contractor should handle, both for a clean finish and for safe, compliant wiring.
What lighting is best for a study in Singapore? Layer it. Keep the ceiling light for general brightness, add a task light at the desk aimed away from your eyes and screen, and use neutral white around 4000K for focus. A dimmable or warmer secondary lamp helps if the room doubles as an evening reading corner.